

Encrypted Stamps give a recipient the authority to place an encrypted stamp on the document that represents your organization’s department.
They are set up by a Billing or Super Admin and can then be used by certain team members.
Setting Up an Encrypted Stamp
-
Navigate to the Admin Console
-
In the left side menu select Settings>Stamps.
-
Select the Add New button at the top right of the page.
-
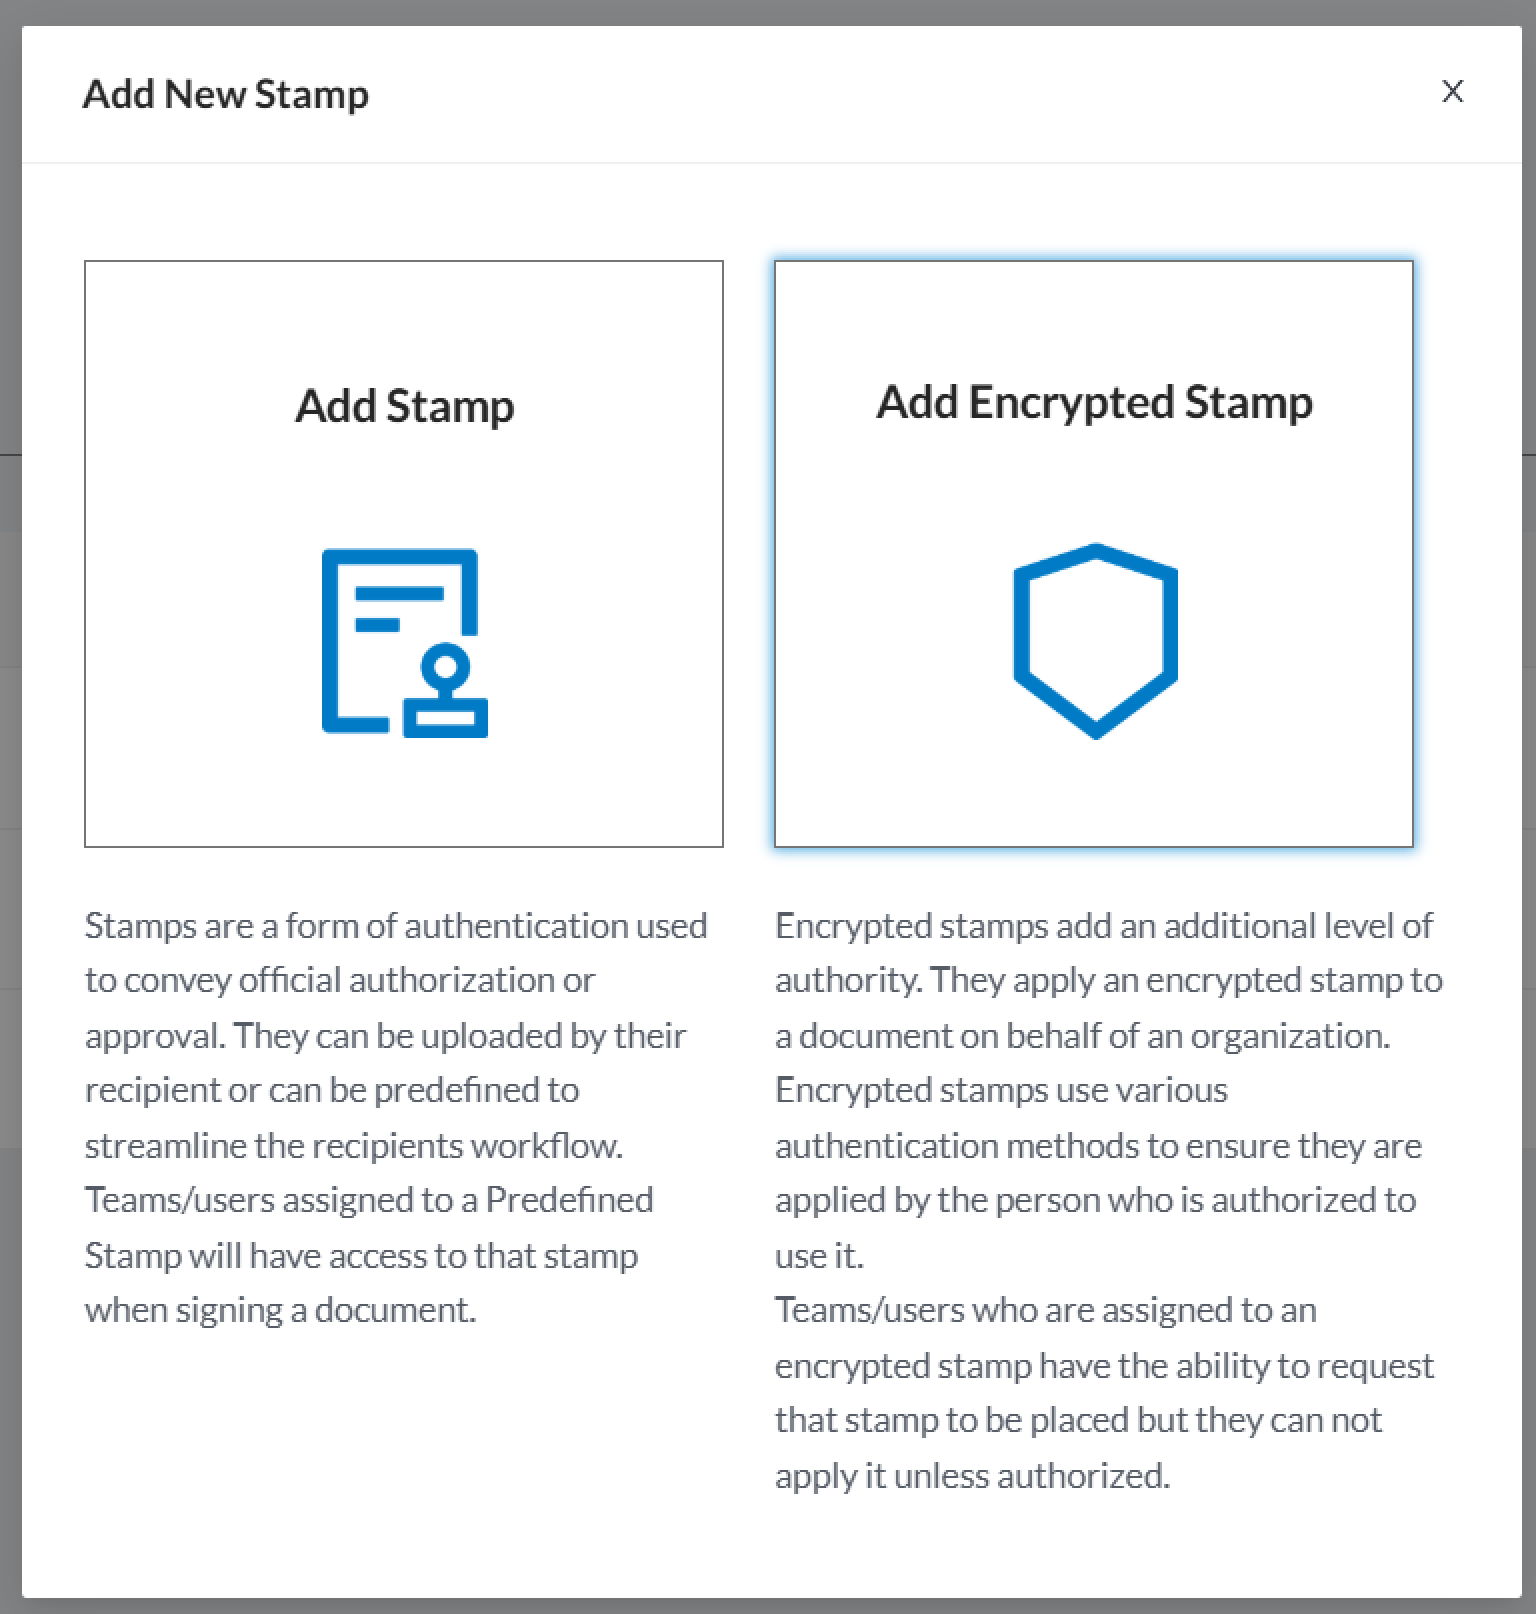
On the pop-up select Encrypted Stamp.
-
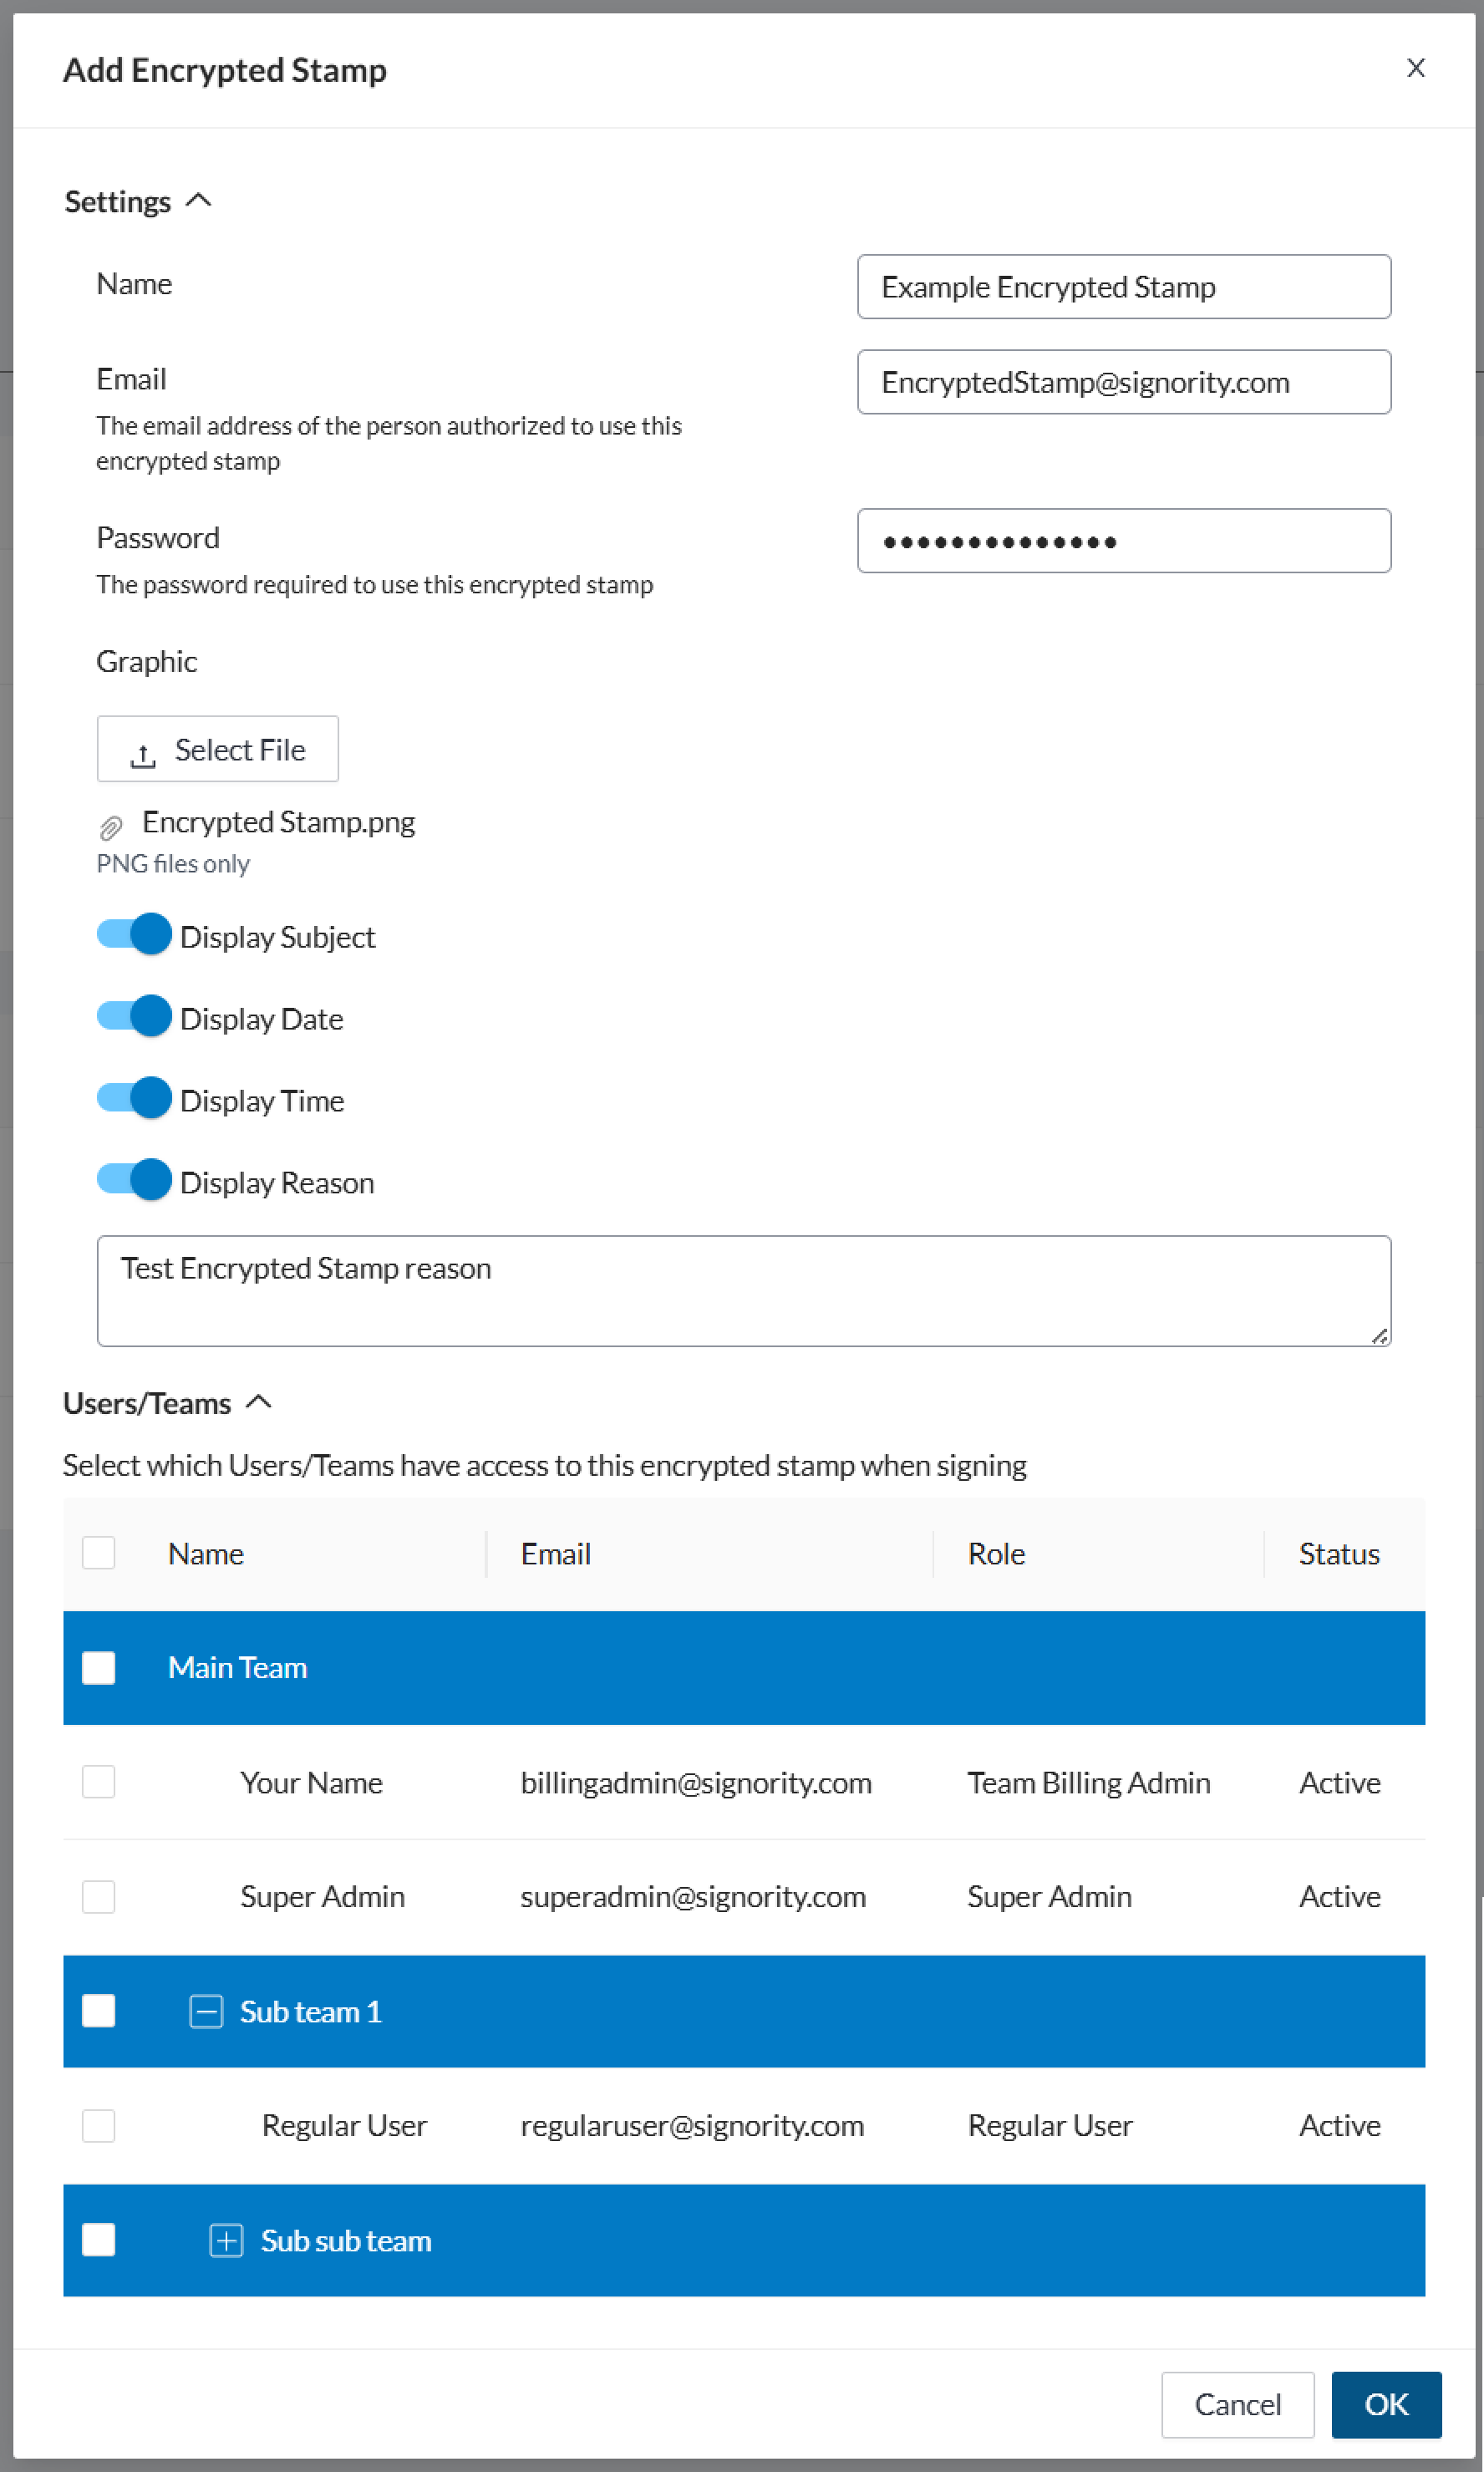
Enter the following details:
-
Name: Name of the electronic seal
-
Email: The email of the person (signer) who can apply the electronic seal on to the document
-
Password: The signer will require this password to apply the seal.
-
Graphic: Upload the stamp and configure what information will be collected and displayed.
-
File: PNG or JPEG of the electronic seal
-
Display Subject: Seal Name
-
Display Date: Date that the seal is applied
-
Display Time: Time that the seal is applied
-
Display Reason: Reason for seal being applied
-
-
Users/Teams: Select the users/teams that can request that an electronic seal be applied to their documents. You may select either an individual or a team. If you select a team you do not have to select the individuals within the team.
-
Note: When you select a team, the whole team will have the ability to request an the Encrypted stamp, even though the box beside each team member is not checked.
-
Click OK to save the stamp.
The encrypted stamp will now appear on the Stamps page.
Further Reading