

Predefining Standard Stamps allows administrators to create and assign approved stamp images to specific users or teams in advance. This ensures consistency, saves time during the signing process, and gives organizations greater control over how stamps are used.
Stamps can be predefined by, Billing and Super admins on the Stamps page. These stamps are then readily available during signing, improving efficiency and ensuring consistent usage across documents.
How to Create a Predefined Stamp
-
Navigate to the Admin Console.
-
In the left side menu select Settings>Stamps.
-
At the top right of the page, select the Add New button.
-
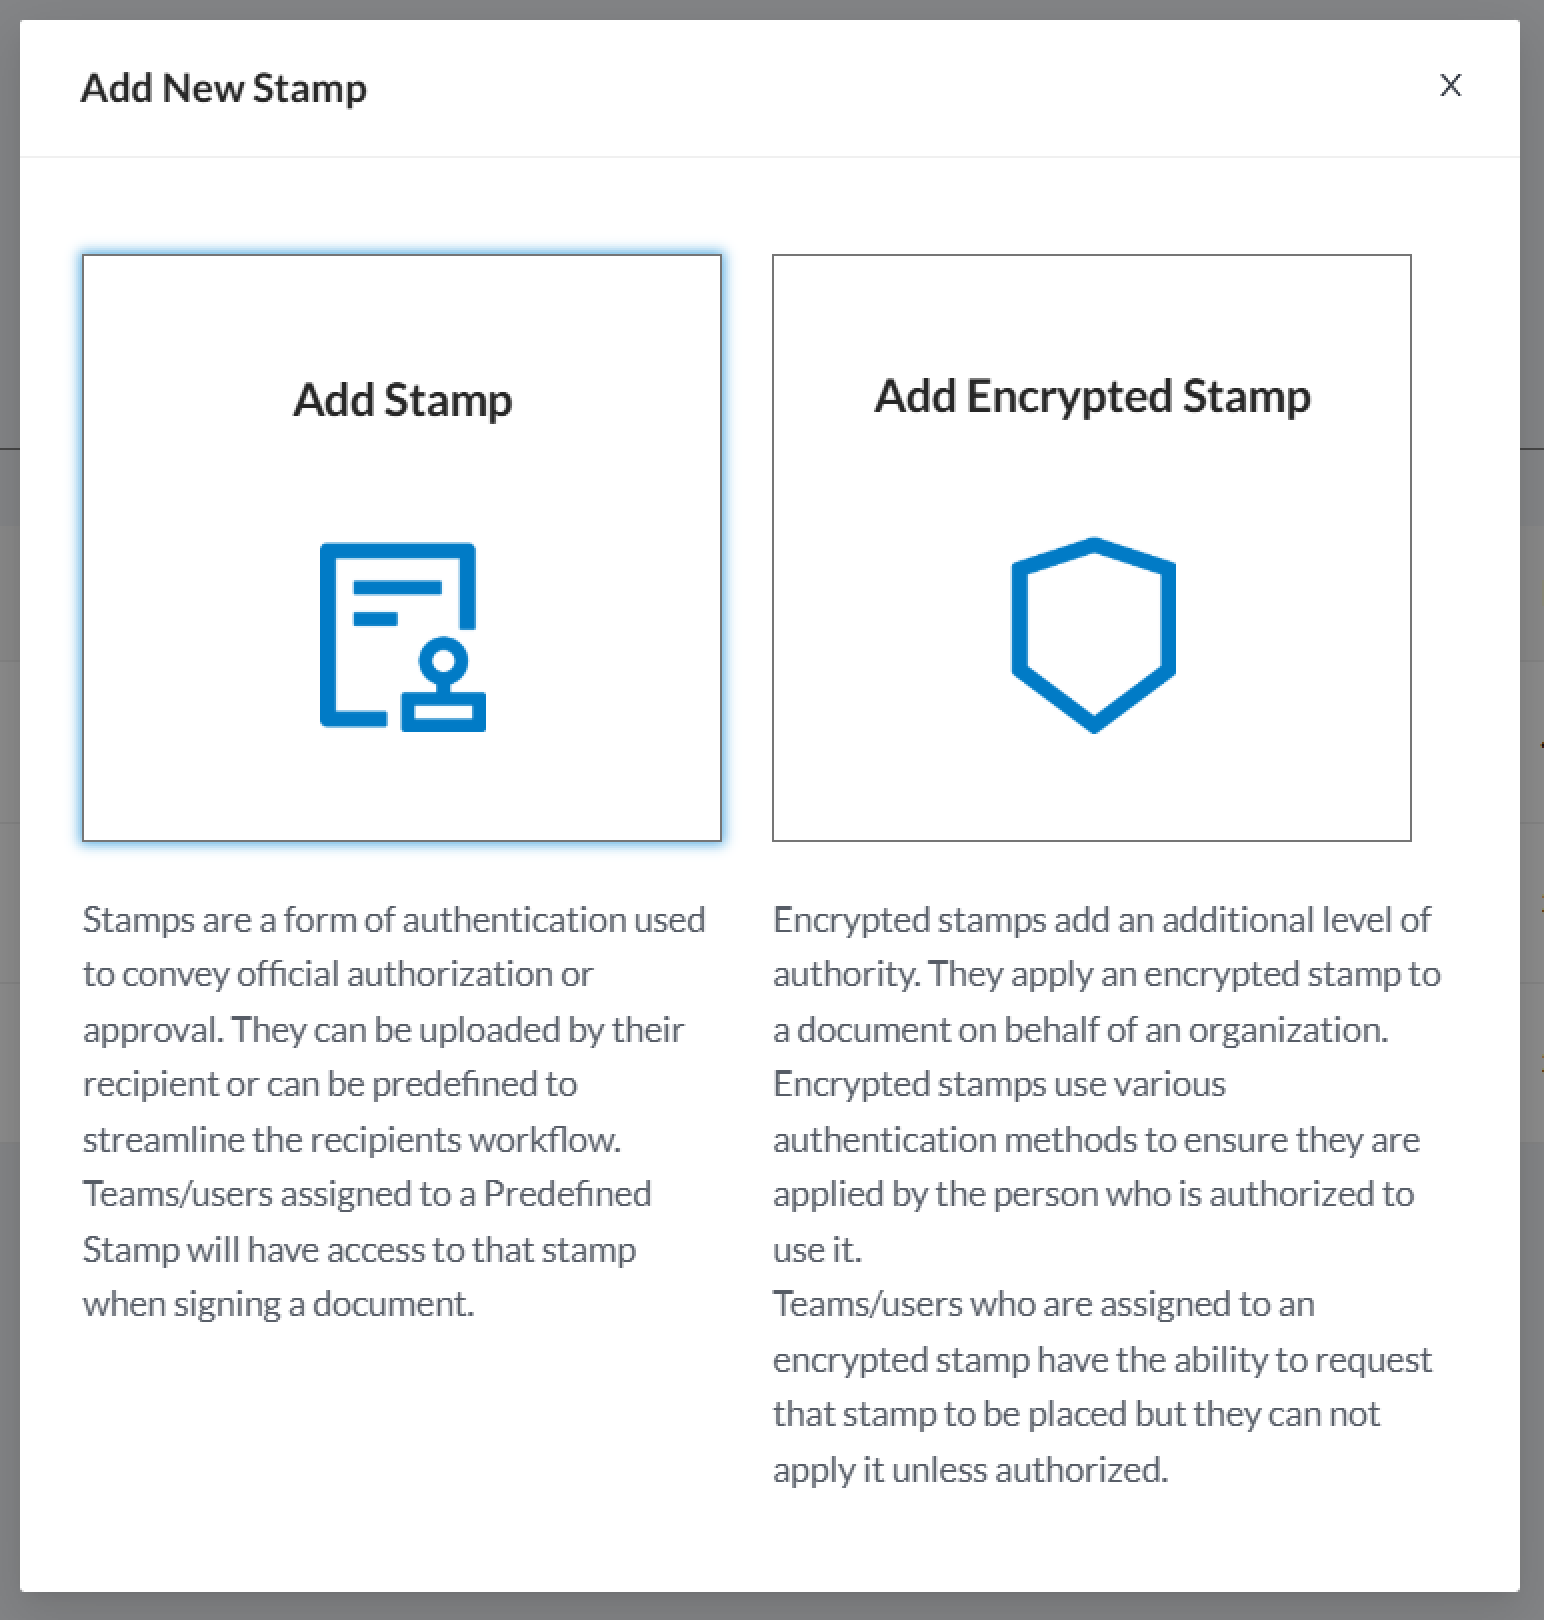
On the pop-up, select Stamp.
-
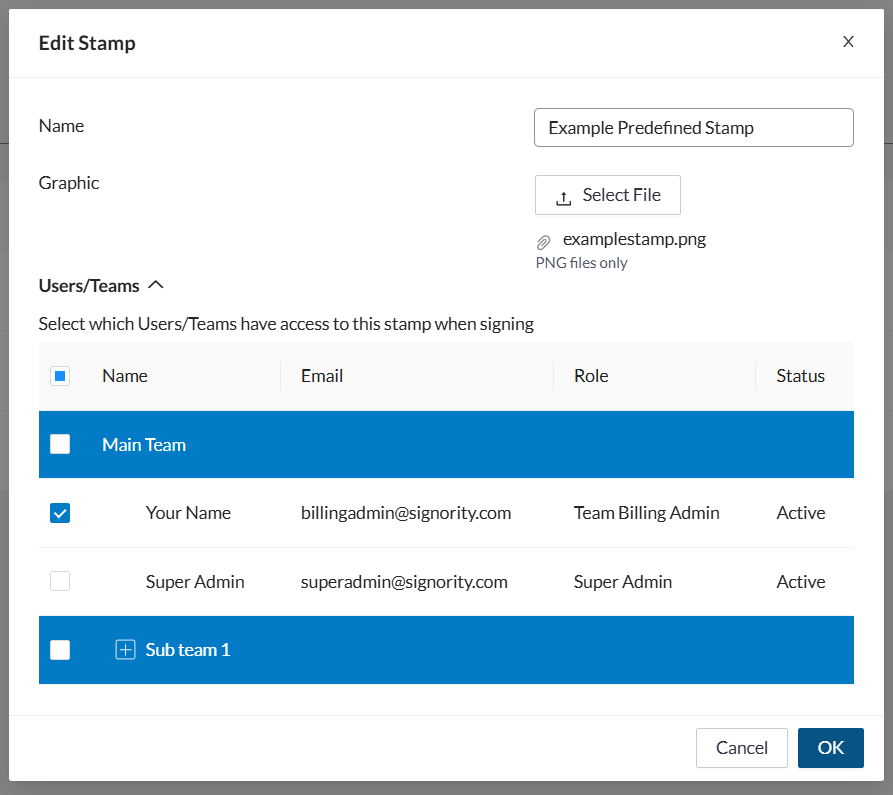
Enter the following details:
-
Name: Name of the electronic seal
-
Upload Graphic: PNG or JPEG of the stamp
-
Users/Teams: Select the users/teams that have access to that stamp when signing a document. You may select either an individual user or a team as a whole.
-
Note: When you select a team, the whole team will have access to that stamp. You do not have to select the individuals within the team.
-
Click OK when you are done.
The stamp will now appear on the Stamps page and the assigned users/teams will have access to that stamp when signing a document.
Edit a Stamp
To edit the stamp:
-
Navigate to the Stamps page and click the pen icon to the right of the stamp’s row you wish to modify.
-
Adjust any information as required.
-
To replace the stamp image just simply upload a new image. This will automatically replace the old one.
Restricting Custom Stamp Uploads
If you want to ensure that users only use predefined stamps, you can prevent them from uploading their own stamp images.
To do this:
-
Navigate to Admin Console > Global Settings > Signer Options
-
Disable Allow recipient to upload their own stamp
-
Click the lock icon to the right of the setting to prevent senders from overriding it