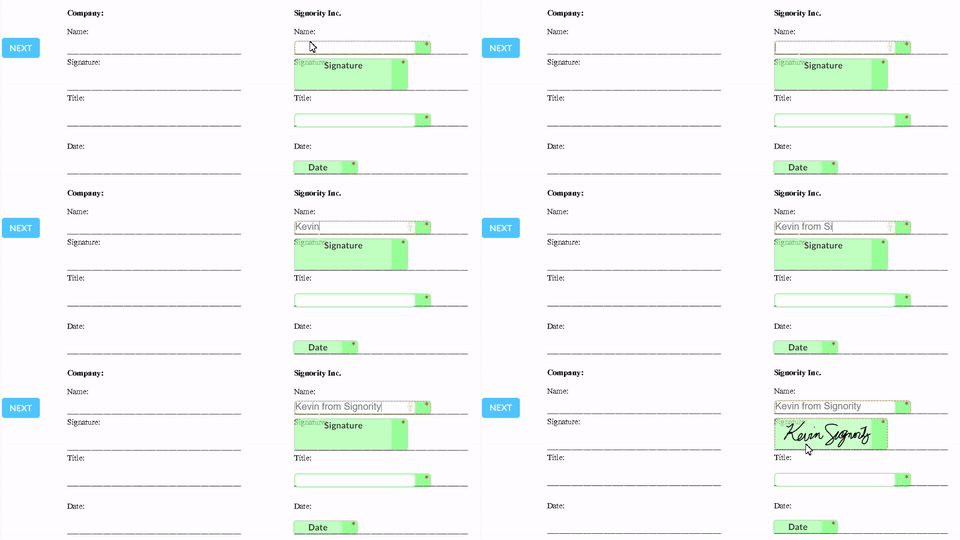
Signing a document is easy, but it can be a hassle to always have to add your signature. You can simplify the process by setting up your default signature design for one-touch signing. After you set up a default signature, each time you sign a document with your account, it'll automatically put your signature in with just one click.
To add, replace, and delete your signature:
-
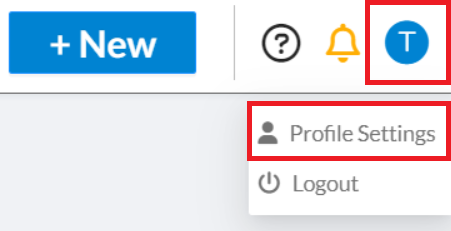
Click your Profile image in the top right of header and select Profile Settings from the dropdown menu.
-
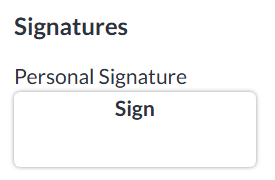
Scroll down to the bottom of the Profile settings where you will find the Signatures section.
-
Select the field under Personal Signature to add or replace your signature.
-
In the Signature window, Draw, Type, or Upload the default signature design you want. You can select the clear button to restart if needed.
-
Click Apply when you're happy with it.
Note: If you already had a signature added, this will replace it and it can not be undone.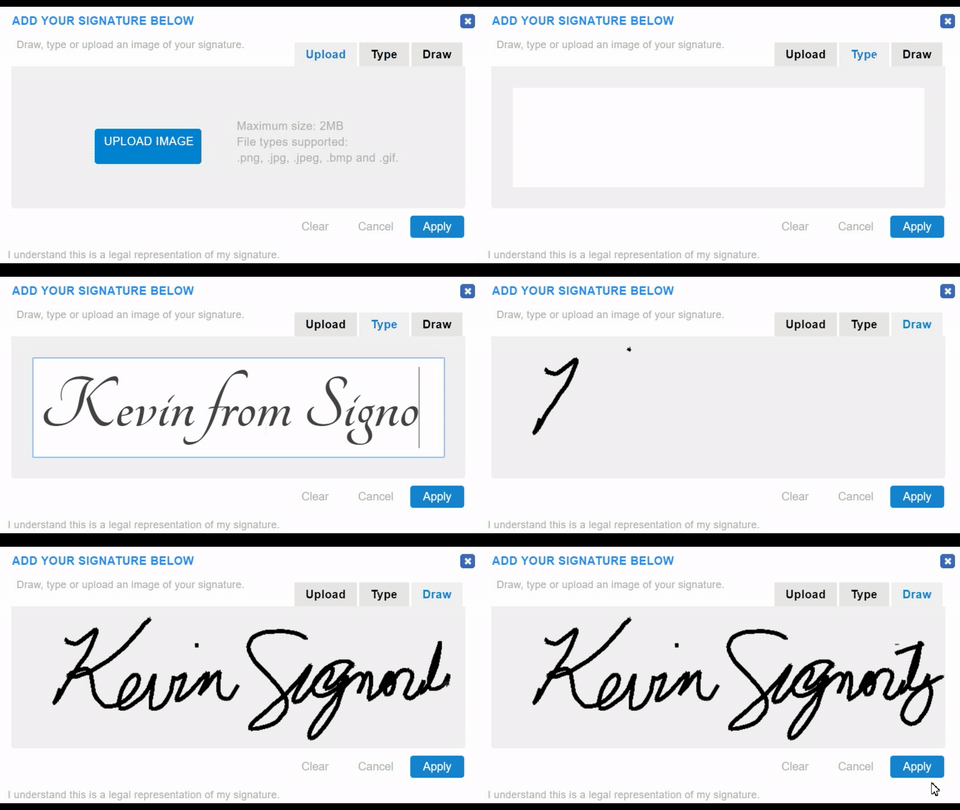
-
When you're done, you should see your signature applied in the Personal Signature box.

-
Click Save to save the signature to your Profile.
Now, whenever you're sent a document, it's a simple one-touch signing process when you get to the signature tags.