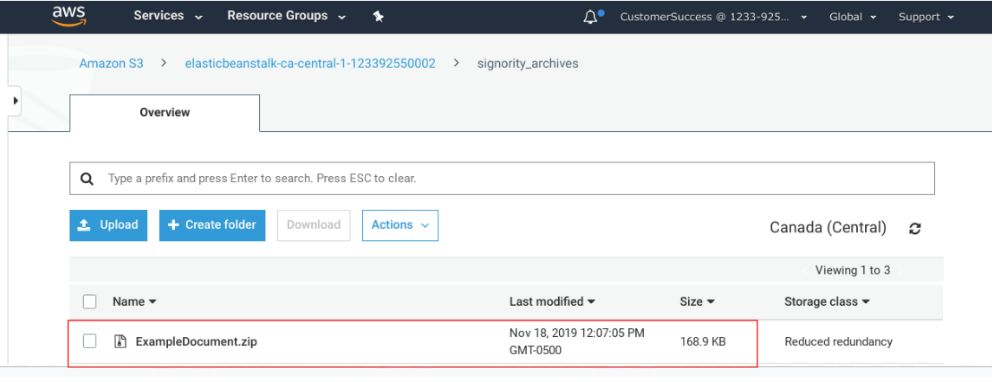
With a Signority Team Plan, you can easily store all your signed Signority documents in your Amazon S3 bucket. Once set up, everything is handled automatically—saving your team time and keeping your files organized in one secure place.
1. Set Up Your S3 Bucket
-
Sign in (or register) for your Amazon Web Services (AWS) account.
-
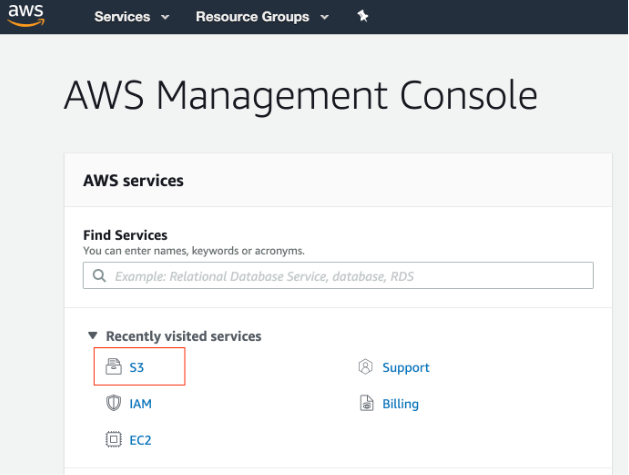
Open the S3 service from the Services menu.
-
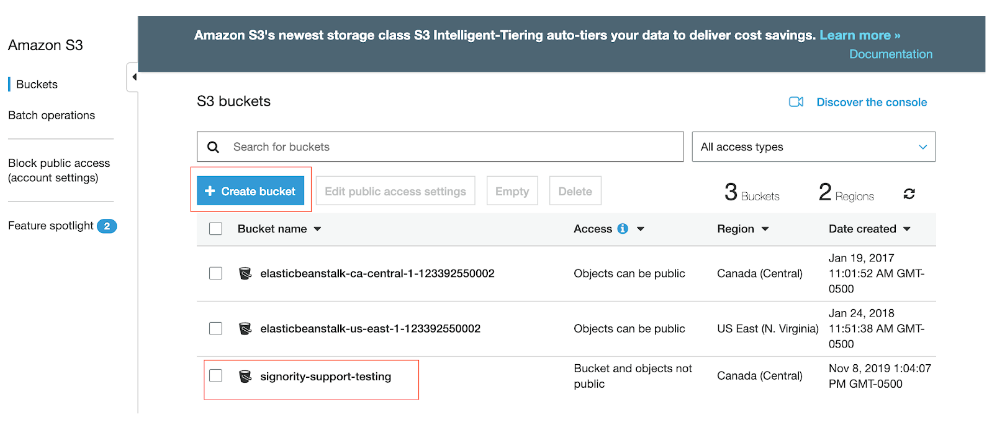
Click Create bucket.
-
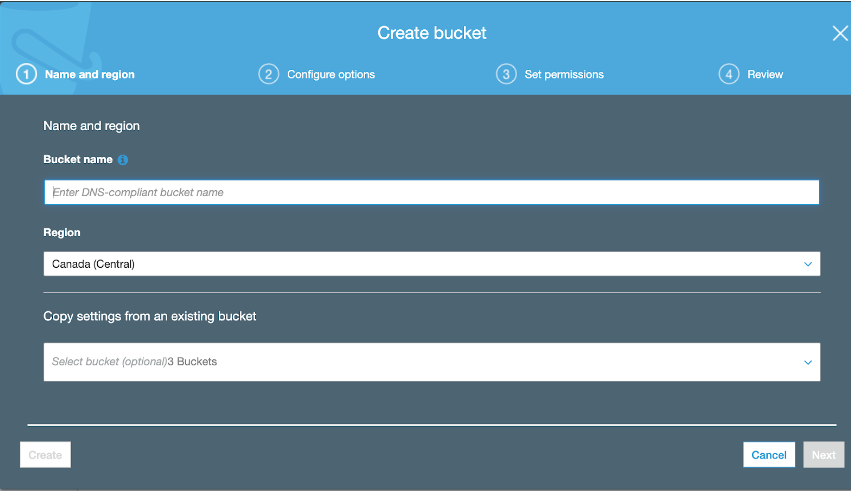
Enter a unique bucket name (names must be globally unique).
-
Complete the rest of the setup.
Note: This bucket will be used to store all your finalized documents.
2. Get Your AWS Access Keys
To connect Signority to your bucket, you’ll need your AWS credentials:
-
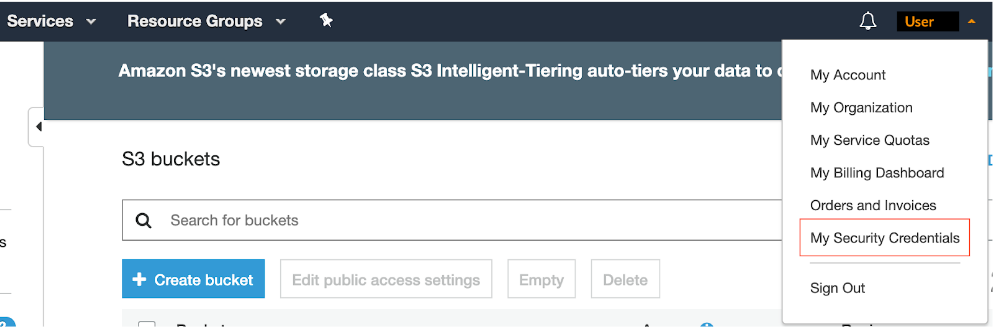
Go to My Security Credentials in your AWS account.
-
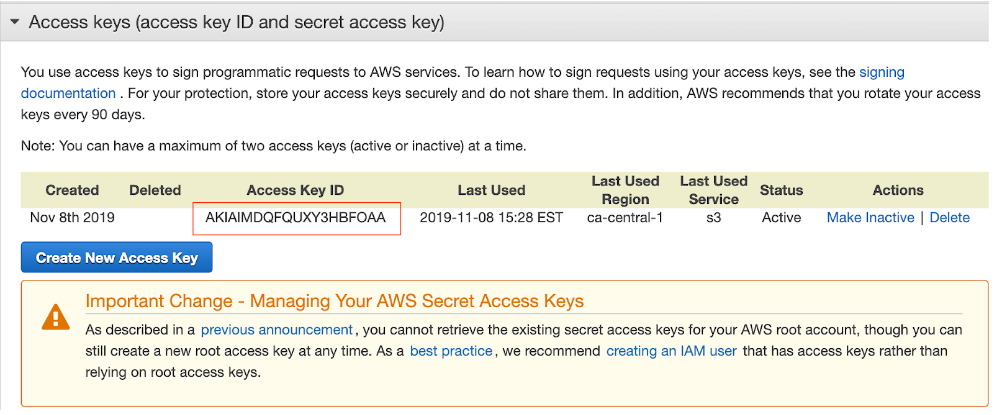
Find your:
-
Access Key ID
-
Secret Access Key
-
-
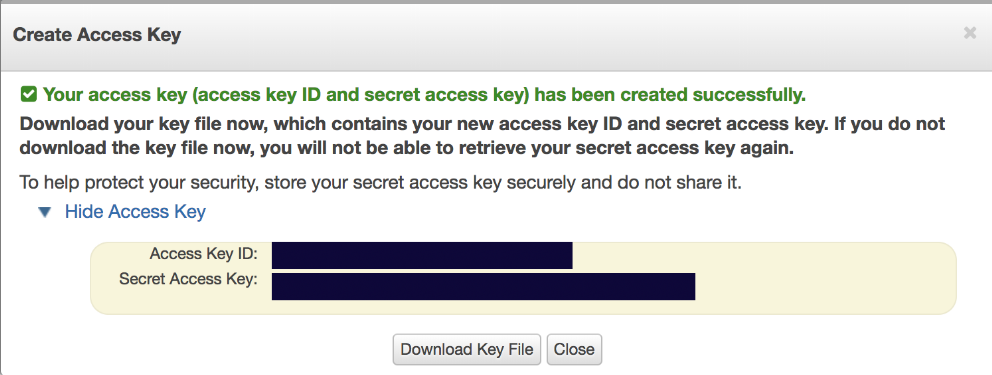
If you don’t have one yet, click Create New Access Key.
-
Save your keys in a secure location.
Keep your keys safe—anyone with access can use your AWS account.
3. Connect Your Bucket in Signority
-
Log in to Signority.
-
In the left navigation panel, click Admin to open the admin console.
-
In the updated navigation panel, select Settings > Integrations.
-
Click Connect next to AWS S3 Bucket.
-
Enter:
-
Access Key ID
-
Security Access Key
-
Bucket Name
-
Region
-
-
Click OK to complete the connection.
4. (Optional) Choose How Files Are Saved
By default, finalized documents are saved as a single combined PDF.
If you prefer separate files:
-
In the admin console, go to Settings > Integrations.
-
Find the Document Integration Backup Format setting.
-
Select Separate PDF’s from the dropdown.
5. Confirm It’s Working
Once it’s connected, you should see a test document named “Welcome_to_Amazon_s3” appear in your S3 bucket.
From then on, every completed document by anyone on your team is automatically saved as a ZIP file in your S3 bucket.