

After sending out your document, recipients receive an invitation email to sign the document through email. Customizing the subject line and message content is a great way to give signers helpful context and increase the chances your email gets noticed and opened.
Need to message a specific signer? See Adding Private Messages for Specific Signers to override the general message for an individual recipient.
Default Invitation Email Subject Line
Signority generates the default invitation email subject line for all recipients using the name of the first file you upload. It is formatted as:
"[SENDER NAME] has sent you the document [File Name] for signing."
For example, if the first file you uploaded was named "Non-Discloser Agreement," the subject line would be:
"John Doe has send you the document Non-Discloser Agreement for signing."
Note: Admins can also configure a their own default format for both the subject line and message in Branding. For more information, see Setting Up Team Email Branding.
Customize the Invitation Email for All Recipients
There are two main places to edit the invitation email:
-
Recipients Page – Recommended for new documents.
-
Signority Document Editor – For drafts, templates, or if you forgot to customize on the Recipients page.
When Creating a New Document (Recipients Page)
When creating a new document, you can customize the invitation email on the recipients page. If you missed this step or want to make any changes later in the workflow, you can do so in the document editor.
-
Click +New on the Dashboard to create a new document.
-
Upload your files or click Next to skip to the recipients page.
-
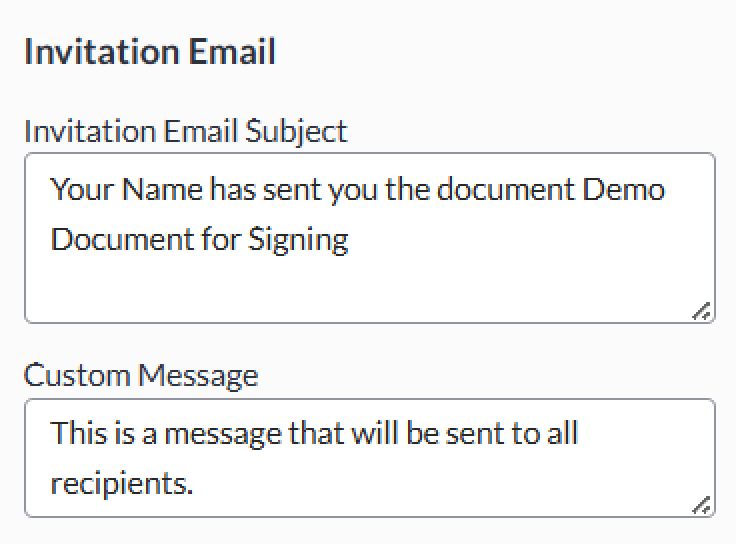
On the Recipients page, find the Invitation Email section on the panel on the right side.
-
Edit the Subject Line and Message fields to your liking.
When creating a new document, you can customize the invitation email on the recipients page. If you missed this step or want to make any changes later in the workflow, you can do so in the document editor.
The default invitation email subject line for all recipients is automatically generated using the name of the first file you upload, prefixed with "[SENDER NAME] has sent you the document" and suffixed with "for signing". For example, if the first file you uploaded was named "Non-Discloser Agreement" the default invitation email would be "John Doe has send you the document Non-Discloser Agreement for signing."
You can personalize this email subject line and add your own message for all recipients to ensure the signing process goes even smoother for you and your invitation email gets opened and read.
When Setting up a Template or Editing a Document (Document Editor)
-
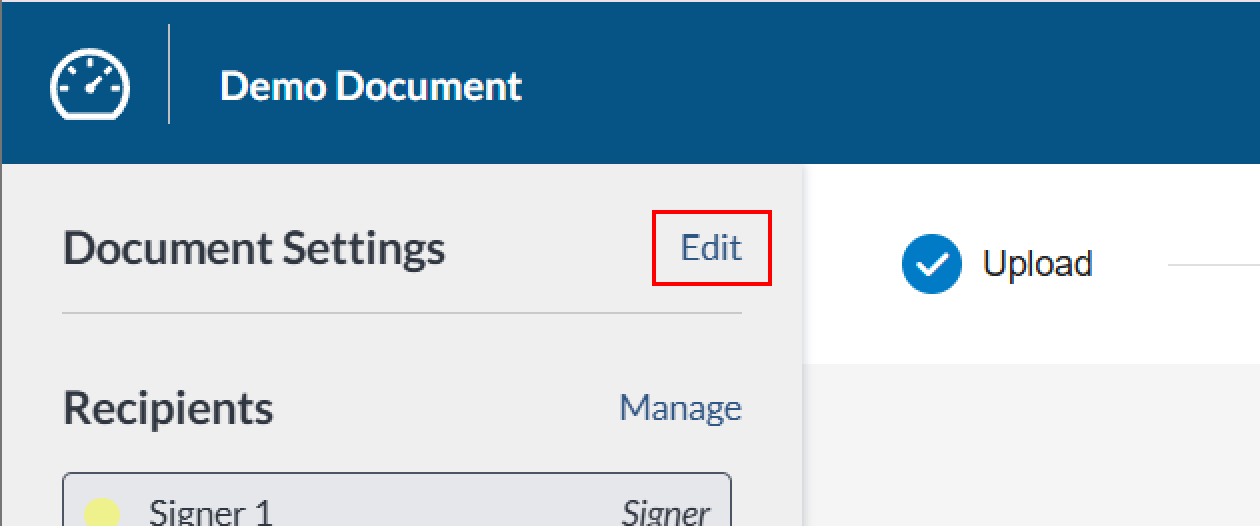
Open the Editor, by selecting click Edit next to Settings in the left panel.
-
You will be brought to the Title and Email tab of the document settings.
-
Enter your custom subject line or message.
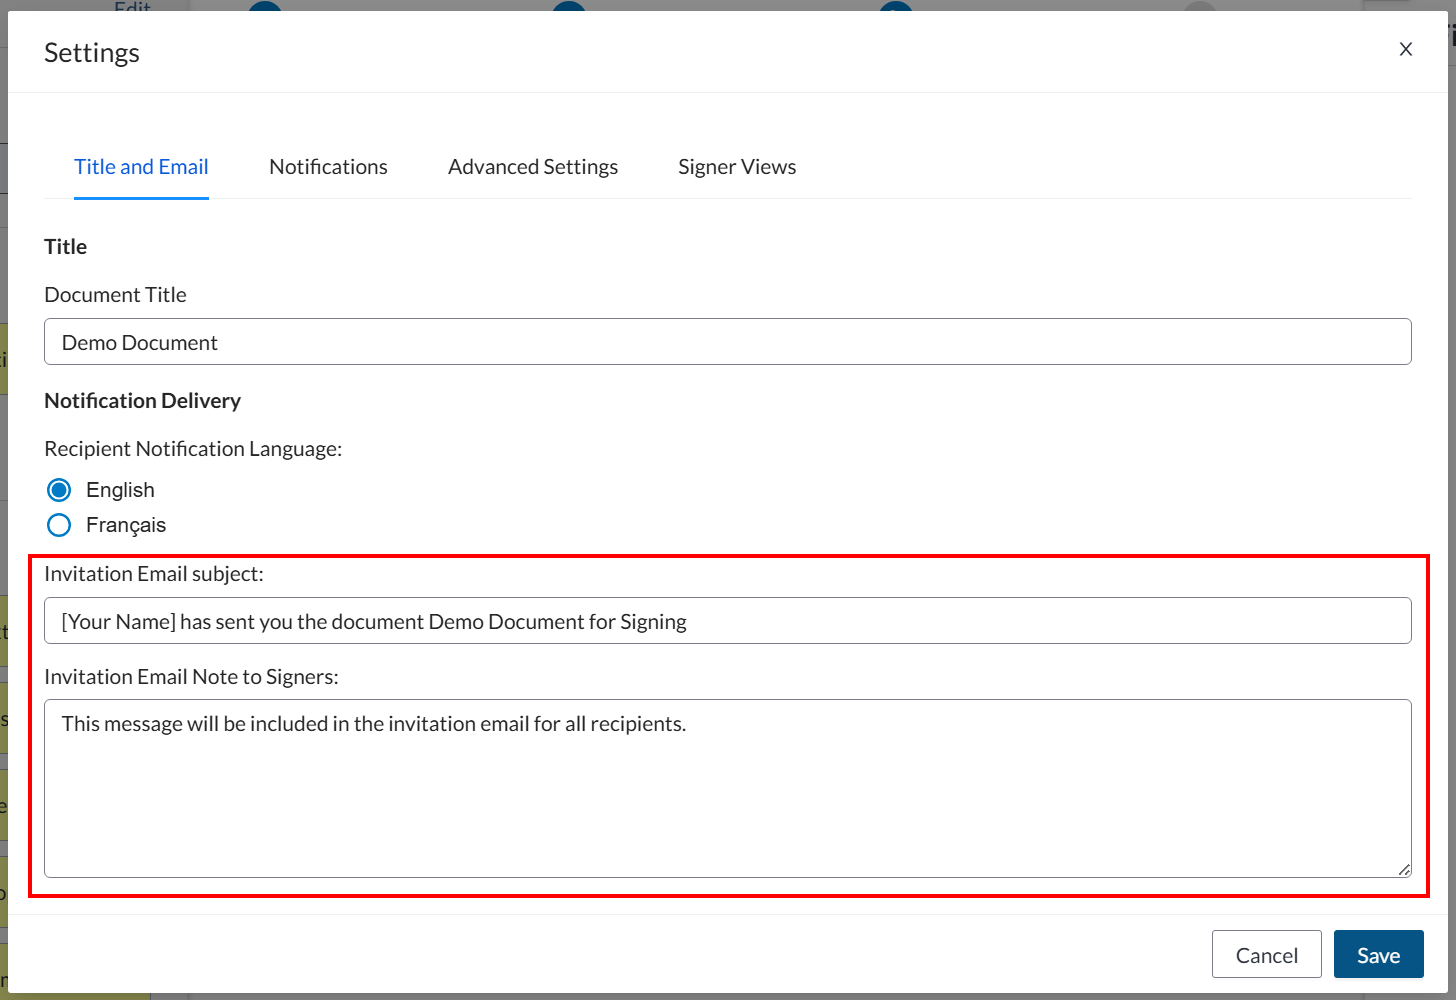
Note: Once you make any changes to the invitation email subject line, Signority will no longer automatically translate it to French/English if you change the recipients notification language, however, the rest of the email notifications will still be translated.
-
Click Save in the bottom right when you are done.
What the Invitation Email Will Look Like
Below is a screenshot of the invitation email if you had a custom message for all signers:
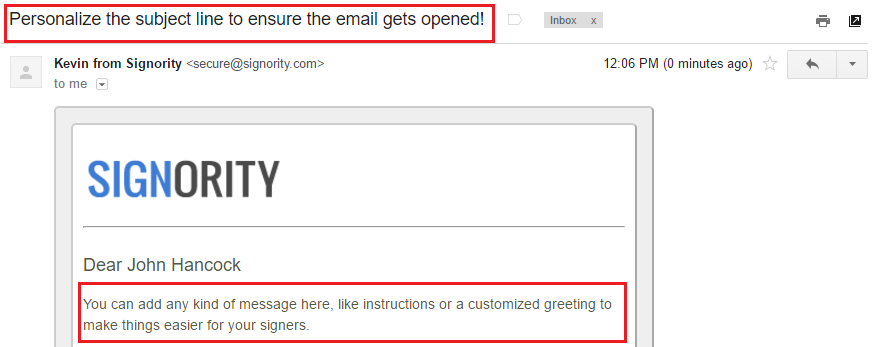
Note the personalized subject line and the content of the email note.