

Add Recipients to a New Document
-
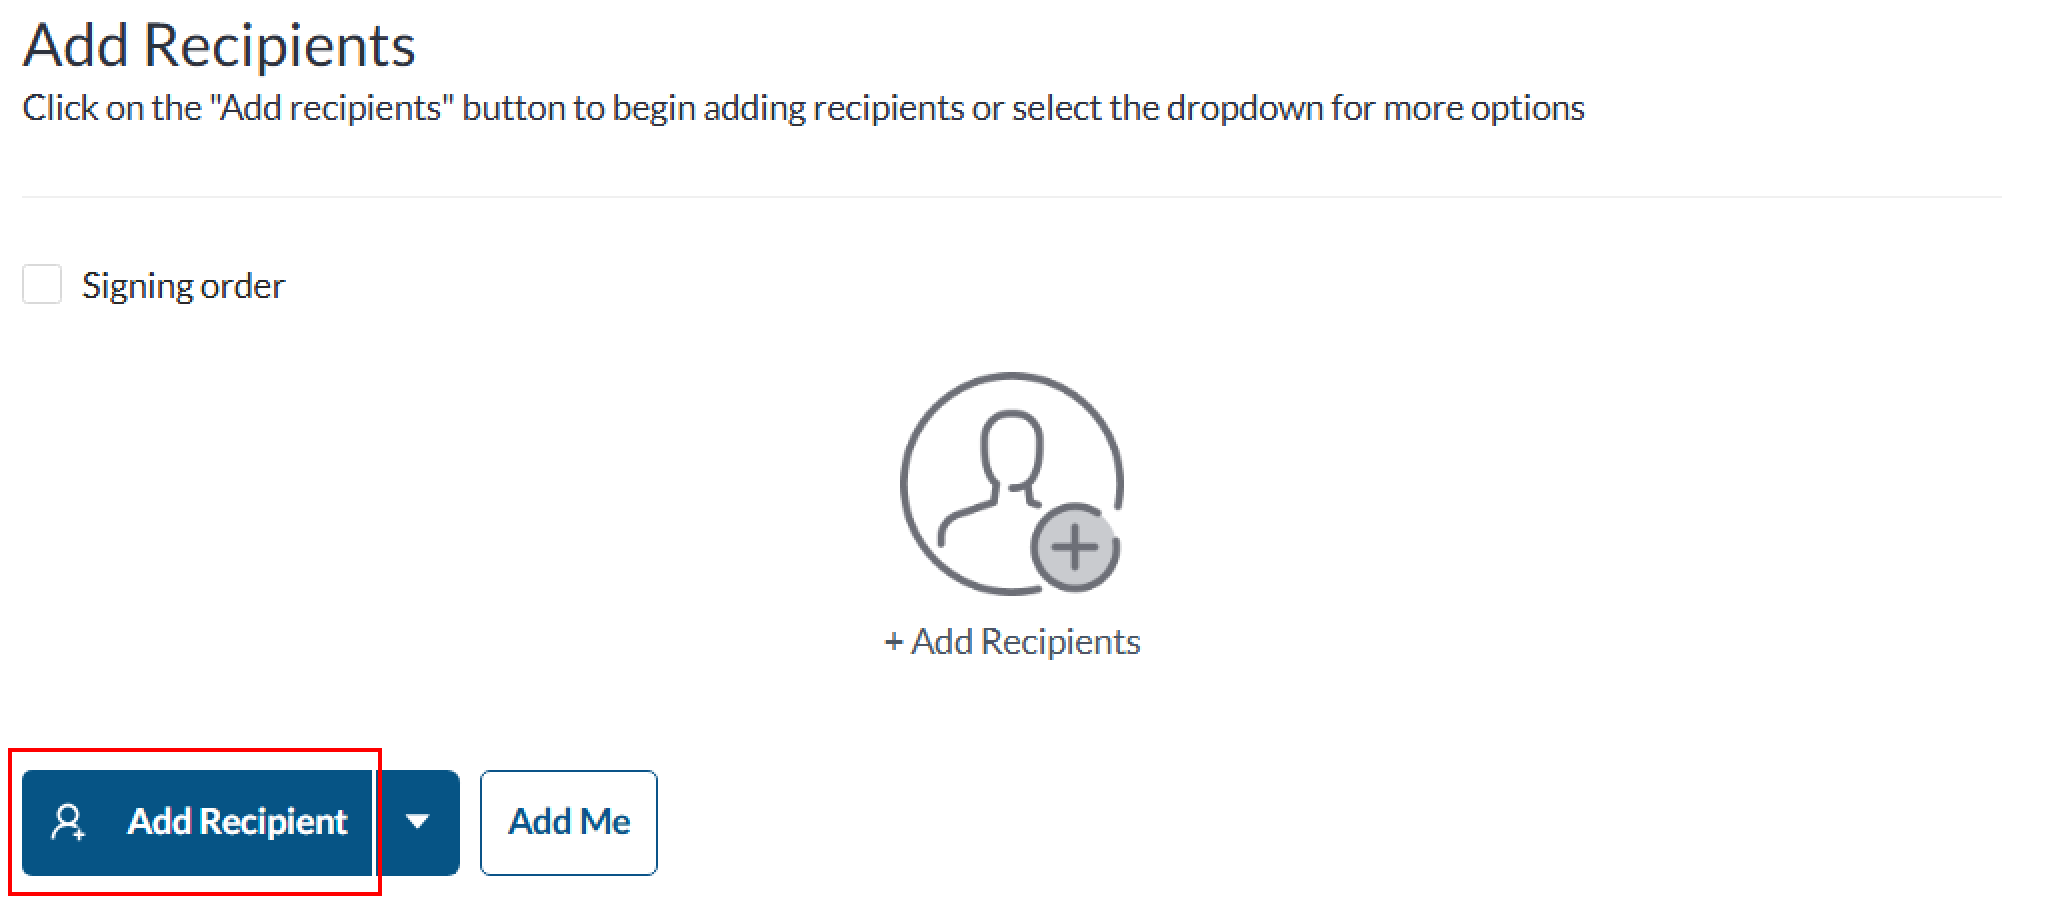
On the Recipients page, select Add Recipient.
-
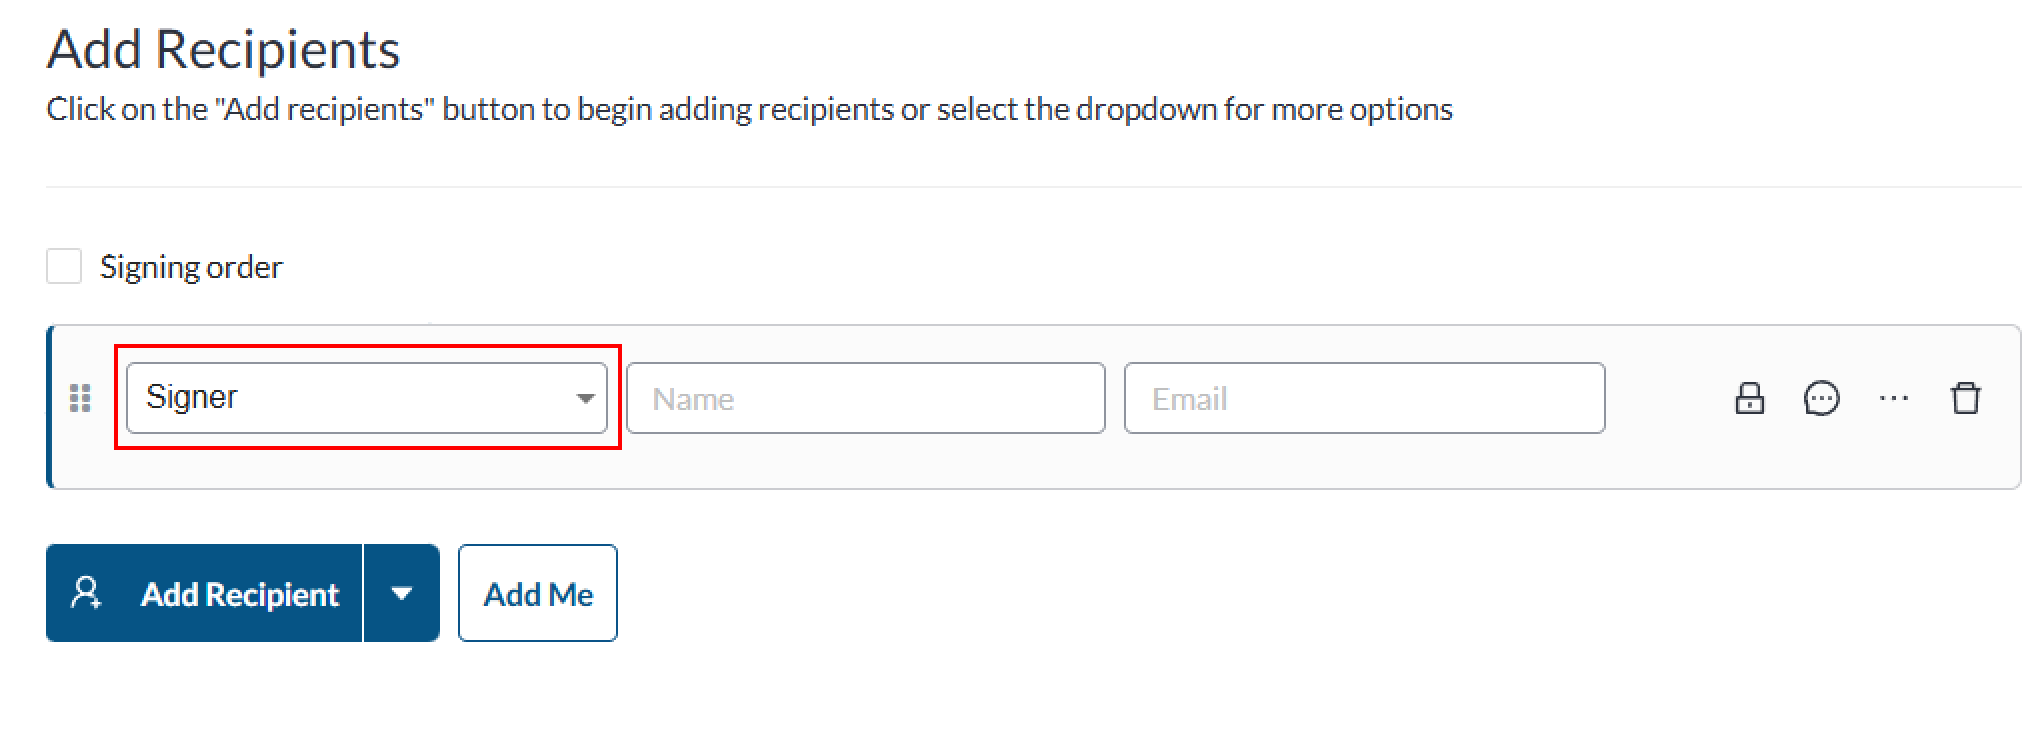
On the recipient that was created, select the dropdown and chose what recipient type best matches what action the recipient needs to do:
-
Signer (Default) - Recipients must complete the required fields assigned to them.
-
Viewer - Recipients must open and view the document. For more information, see Sending a Document for Viewing with Signority.
-
In-Person Signing Host - Manages in-person signing sessions. For more information, see Documents for In-Person Signing.
-
Conditional Signer - Signs the document only if specific conditions are met. For more information, see Conditional routing with Conditional Signers.
-
Editor (Custom Plans Only) - Can modify/correct an in-progress documents recipients, tags, settings, and more before signing or continuing the documents workflow. For more information, see Editor Recipient Overview.
-
-
Enter the recipients name and email address.
-
Repeat this process until all of your recipients have been added.
Tip: To add yourself as a recipient, select Add Me instead of Add Recipients. This will pre-populate the recipient with your name and email.
Advanced Recipient Settings
-
Add a Signing Order: Create a signing order to specify a specific sequence in which recipients will receive and sign the document.
-
Private Message Recipients: Add a message visible only to a specific recipient.
-
Recipient Authentication: Require recipients to authenticate themselves before they can access or sign the document
-
Add a Witness: Assign a witness who must observe and sign alongside the recipient if required
-
Recipient Notification and Reminders: Configure the frequency and total number of reminders.
Manage a Documents Recipients
A documents recipients list can be modified at any time before sending the document. To do this:
-
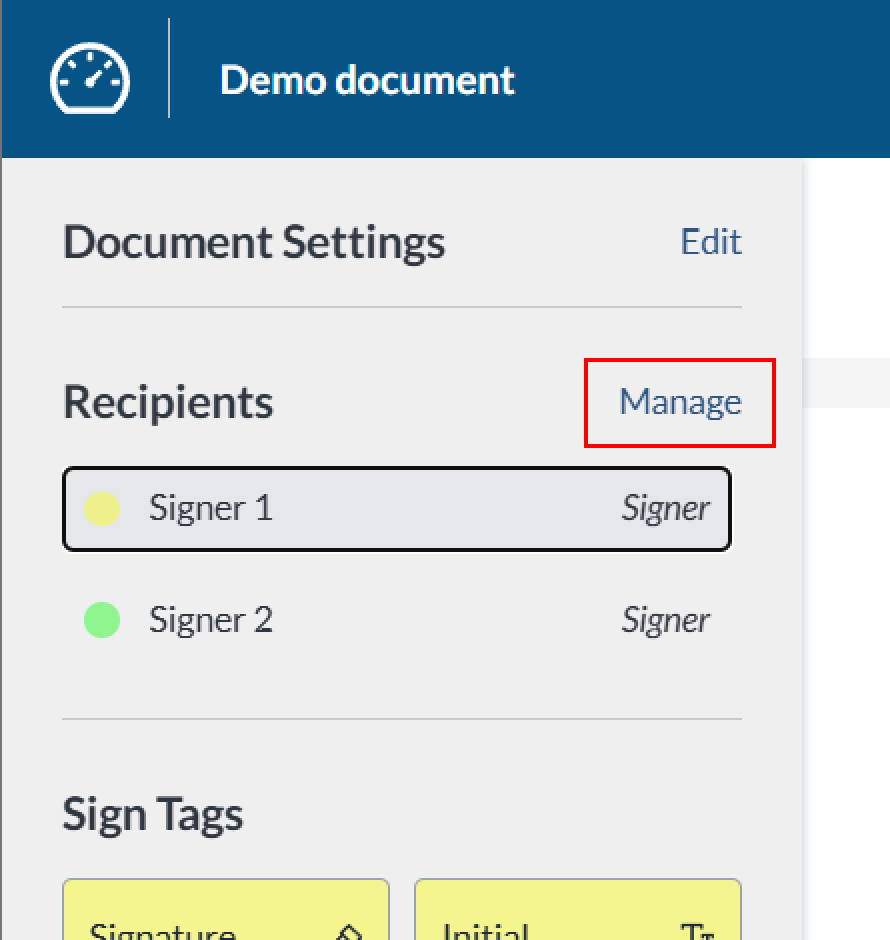
From the Editor page, open the Recipients List by selecting Manage next to Recipients in the left panel below Document Settings.
-
Make the necessary changes to your recipients. You can
-
Add new recipients
-
Modify recipients information and settings
-
Add signing order/reorder recipients
-
-
Click Save in the bottom right when you are done.