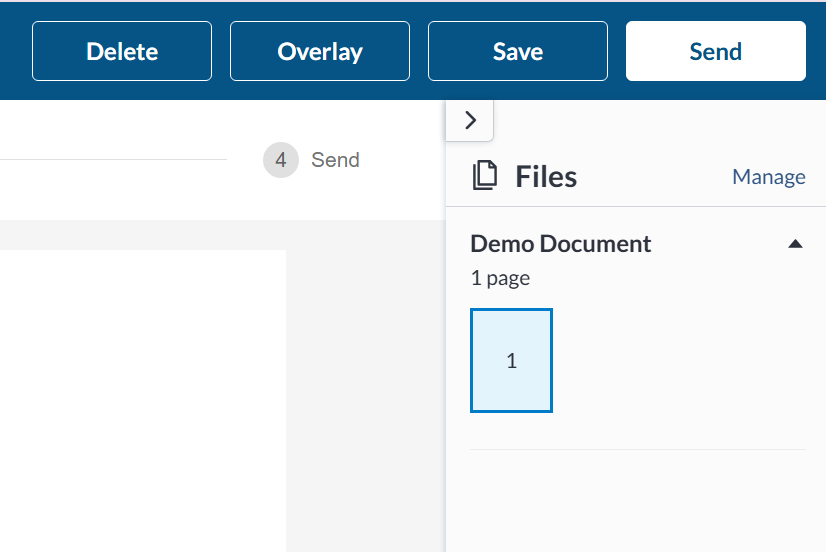
On the Editor, if you are editing a draft and have already uploaded files to your document, you can see a list of the files that are a part of the package and thumbnails of their pages to the right of the Editor under Files. To modify the files that are a part of the document package:
-
In the Files panel, select Manage.
-
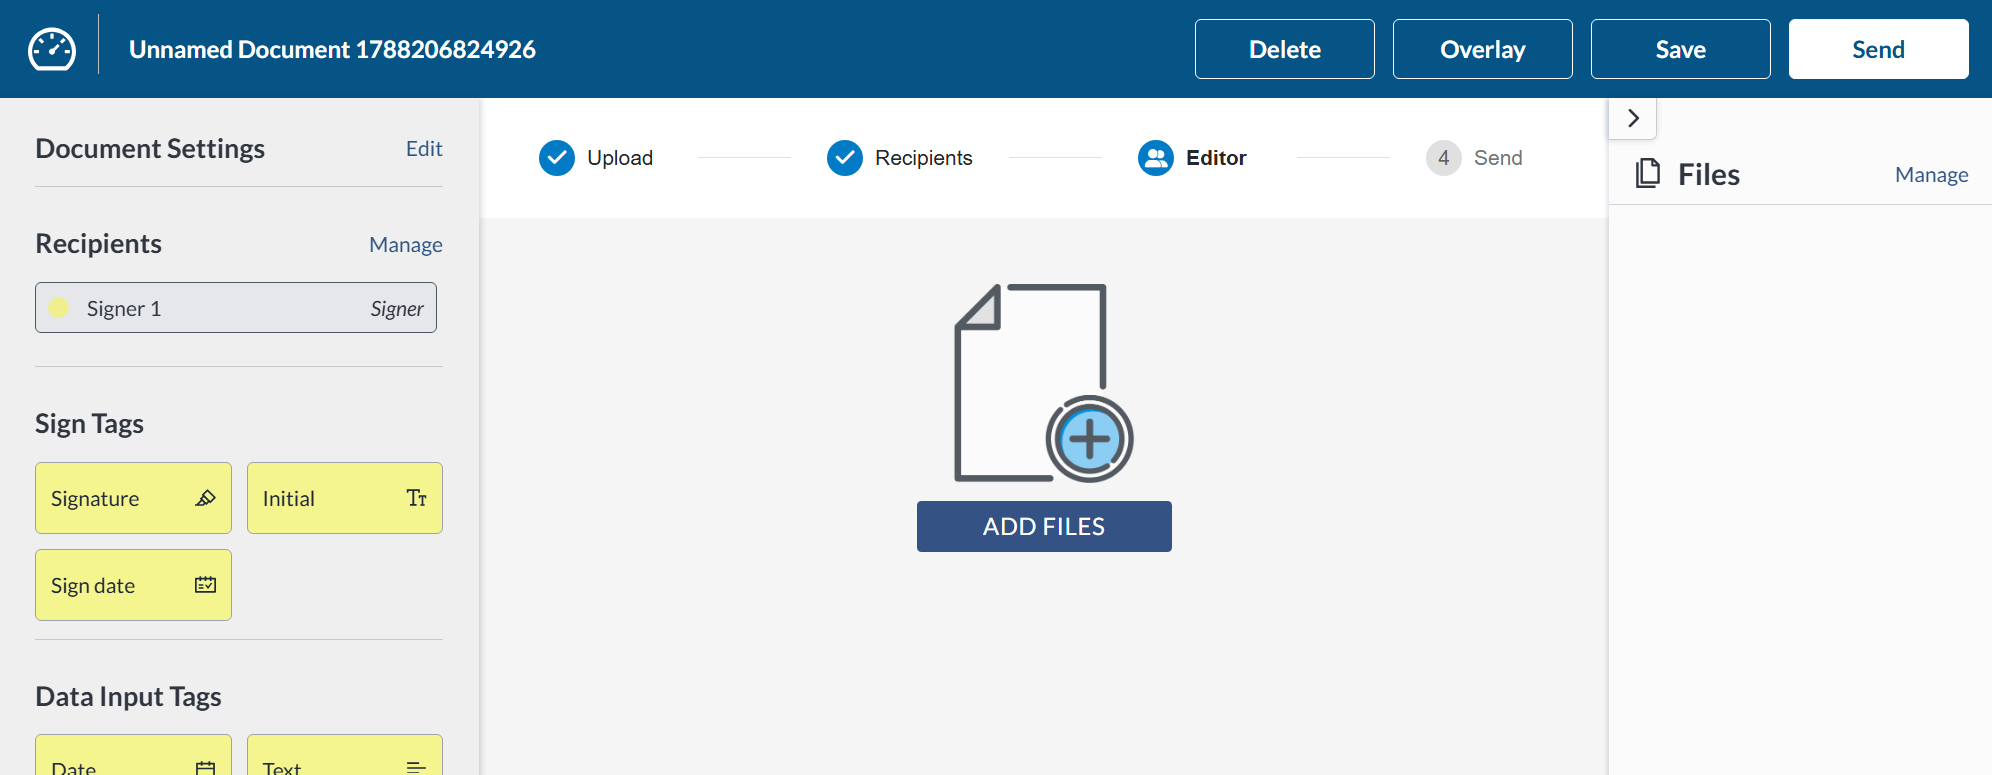
From the Document Editor, open the Manage Files pop-up by clicking Edit next to Files on the left panel. If no files have been uploaded yet, you can also select the Add Files button in the middle of the document editor.
-
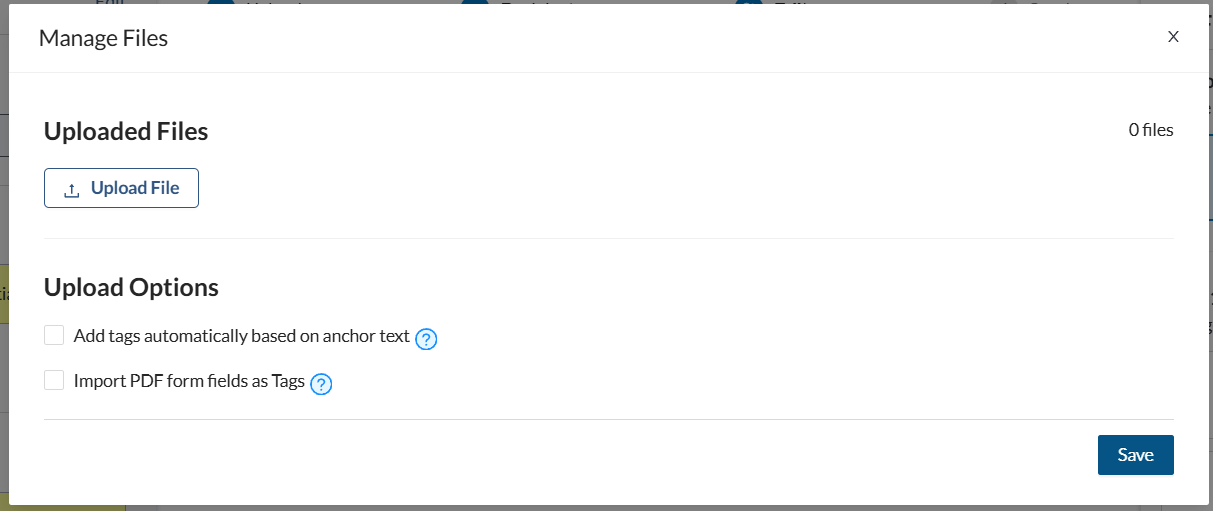
On the manage files pop-up window, select Upload File.
Note: If you are uploading a file with PDF form fields or Anchor Text, be sure to enable those options before uploading your file.
-
In your devices file manager, select the files you would like to upload for signature and then click Open.
Note: Each plan has a document size limit that applies to your uploads. Learn more about file size limits here.
-
After the upload completes, the document name will be listed under Uploaded Files.
Note: If this is the first file uploaded your document or template will automatically be named it. To learn how to rename your document/template, see: How to Rename a Document Package.
-
Click OK to finish adding the files to your document package.
Removing Files
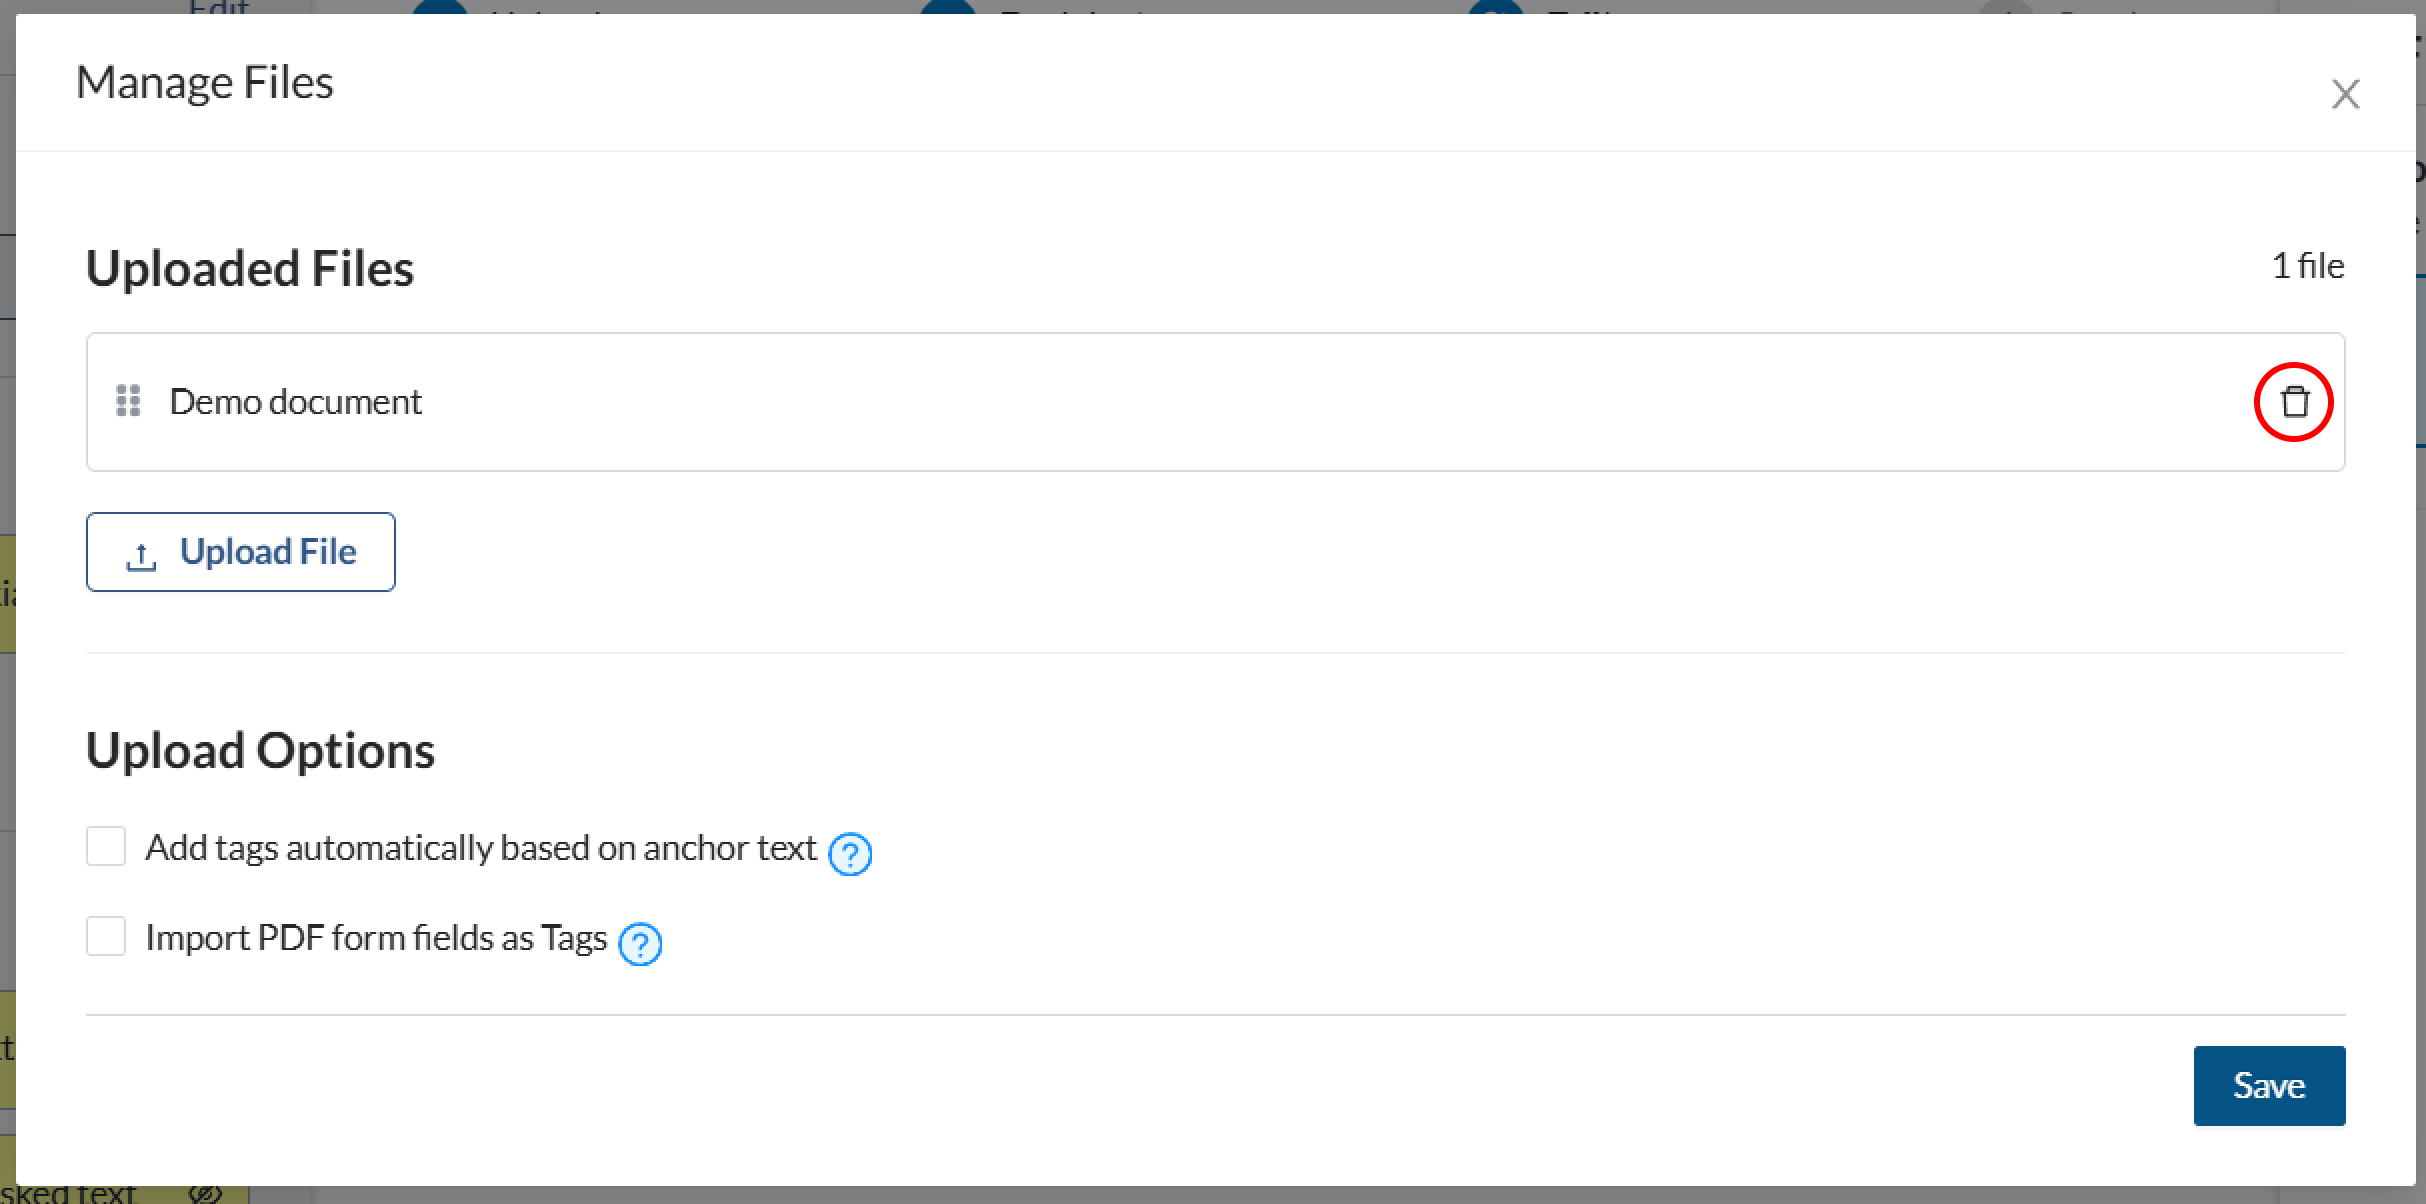
If you uploaded the incorrect file or uploaded one by accident, you can remove a file by selecting the trash icon next to the file name either under the Uploaded Files list in the top right of the Upload Page or if you are on the Manage Files Pop-up in the Editor.