

The Bulk Sign feature allows you to send a document for signature to up to 200 recipients simultaneously. Instead of creating and sending individual signature requests, you configure a Bulk Sign template once and the system automatically sends a separate copy of the document to each recipient.
Bulk Sign is ideal for sending the same agreement, policy acknowledgment, onboarding form, or consent document to a large group of recipients.
Each document sent through Bulk Sign appears in your Documents list, making it easy to monitor progress, track completion status, and manage recipient activity.
How Bulk Sign Works
Bulk Sign allows you to send the same document to a large number of recipients without creating individual signature requests. Instead of manually sending documents one at a time, you create a single Bulk Sign template and upload a Bulk Sign list containing the names and email addresses of your recipients.
When you send the Bulk Sign document:
-
The system reads each entry in the Bulk Sign list.
-
A separate copy of the document is created for each recipient.
-
Each copy is addressed to the recipient listed in that row of the Bulk Sign list.
-
Personalized data can be automatically added to document fields using information stored in the list.
-
The document is emailed to each recipient individually.
Although the document is configured only once, every recipient receives their own independent signing request and cannot view or access documents sent to other recipients.
Creating a Bulk Sign Template
After initiating a Bulk Sign template, the remaining steps can be completed in any order.
Note: We recommend adding tags before your recipient list. When tags are added first, you can rename them and then match that name to CSV columns for automatic per-recipient population — one of Bulk Sign's core time-saving features. For more information, jump to Auto-Filling Tags with Recipient Data.
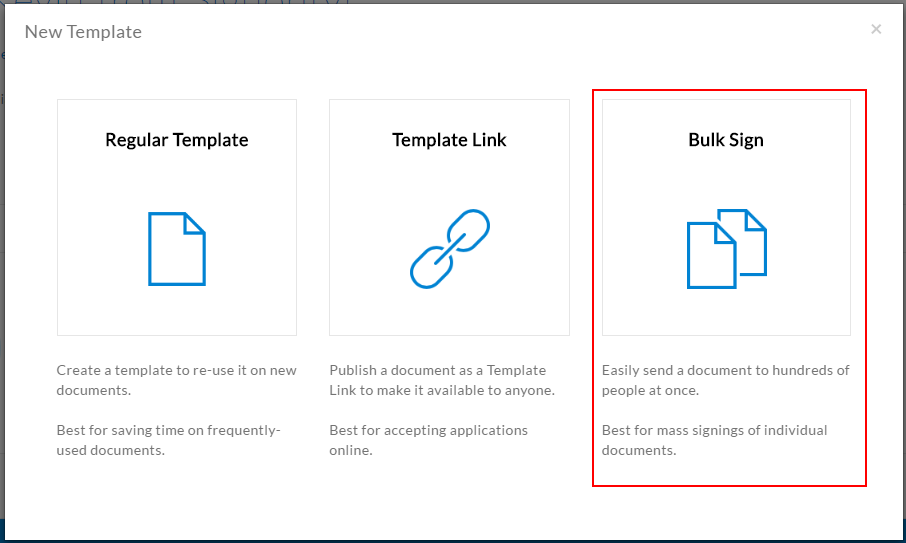
1. Start a New Bulk Sign Template
-
Click + New
-
Select New Template
-
Choose the Bulk Sign option when prompted
2. Upload Your Files
-
Use the Add Files button to upload the document you want to bulk send for signatures.
3. Add and Rename Tags on the Document
-
Drag and drop the tags meant for bulk signers onto the document.
-
Select the tag. Its settings open automatically in the panel on the right side of the Editor.
-
In the tag settings panel, rename each tag to something easily recognizable, such as Name_1 or Position_1.
Note the exact name you give each tag — you'll use these as column headers in your CSV file next, so the values can auto-populate for each recipient.
Learn more:
4. Prepare Your Bulk Sign Recipient CSV File
Before importing your recipient list, build a CSV file listing everyone who will receive the document.
-
Open Microsoft Excel, Google Sheets, or another spreadsheet application.
-
In the first row, add two column headers: Name and Email.
-
Enter each recipient's name and email address on its own row.
-
Save the spreadsheet as a CSV (.csv) file.
Here is an example:
|
Name |
|
|---|---|
|
John Smith |
john@example.com |
|
Jane Doe |
jane@example.com |
Name and Email are the only mandatory columns. You'll import this file in the next step using Import Bulk List.
Auto-Filling Tags with Recipient Data (Optional)
If you added and renamed tags in step 3, you can use extra columns in this same CSV file to automatically fill those tags with each recipient's information.
-
Add a column for each tag you want to pre-populate, using the exact tag name as the column header — for example, Name_1 or Position_1.
-
Under each column, enter the value you want to appear for that recipient.
|
Name |
|
Name_1 |
Position_1 |
|---|---|---|---|
|
John Smith |
john@example.com |
John |
Manager |
|
Jane Doe |
jane@example.com |
Jane |
Director |
The column header name must match the tag name exactly. When the documents are sent, John's document will automatically populate the Name_1 field with John and the Position_1 field with Manager; Jane's document will populate Name_1 with Jane and Position_1 with Director.
5. Import Your Recipient List
Once you have created your bulk sign list. You can then import the CSV to your bulk sign template.
-
Click Edit next to Recipients in the Editor.
-
Click Import Bulk List and open your CSV file.
-
Review the imported signer list and any pre-populated tag values — edit any entry by simply selecting it.
-
Click Finish Import, then Save.
6. Add a Regular Recipient (Optional)
In addition to your Bulk Sign list, you can add one or more regular recipients to the document — a fixed person, defined by name and email, who isn't part of your CSV list but who should also receive or sign each copy.
Because Bulk Sign creates a separate copy of the document for every person on your list, a regular recipient doesn't get just one document — they get one signing request per copy, and a signing order controls when they receive each one relative to the bulk recipient on that copy.
Example: Say you set Signer 1 as your Bulk Sign list and Signer 2 as a regular recipient, such as a manager who countersigns every copy.
When the 1st recipient in the Bulk Sign list completes their document, Signer 2 receives that copy to sign next.
When the 5th recipient in the Bulk Sign list completes theirs, Signer 2 receives that copy too — as a separate signing request, independent of the 1st.
Each copy runs through the signing order on its own, so the regular recipient ends up signing once per bulk recipient, not once overall.
Learn more:
7. Send the Bulk Sign Document
-
Click Bulk Send in the top right.
-
Review the document before sending to confirm everything is correct.
Once sent, each recipient gets a document to sign, separate from all other signers. Each document can be viewed and tracked from the Track and Monitor Document Status and Workflow page.