

Template Links in Signority allow you to turn documents into reusable online forms that can be accessed via a shareable URL. This is useful for collecting signatures or information through email, websites, or embedded forms.
Creating a Template Link
After initiating a new link sign template, the remaining steps can be completed in any order. This guide shows the most typical workflow with links to more detailed topics.
1. Create a New Template Link
-
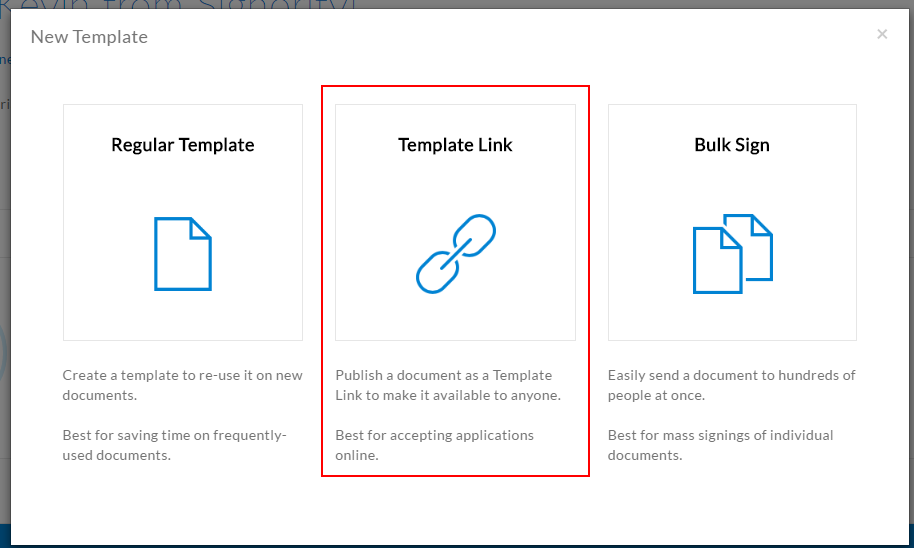
Click + New
-
Select New Template
-
Choose the Template Link option when prompted
2. Upload Your Files
You can then upload the files that will be part of the Link Sign.
-
Click Add Files
-
Upload your document
Learn more:
3. Configure Recipients
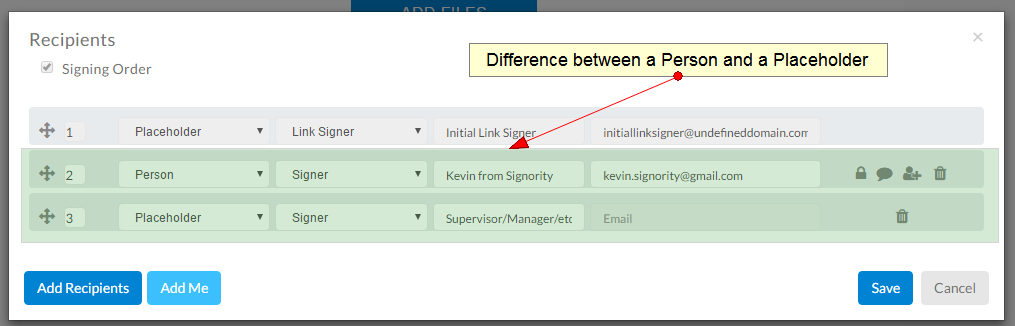
Unlike regular templates, Template Links include a predefined signer role titled Initial Link Signer.
The Initial Link Signer is the person who clicks the published URL. They start and complete the signing process.
You can add still configure additional recipients as either a:
-
Person
-
A known signer with a defined name and email
-
All linksign documents submitted by the Initial Link Signer will then be sent to this recipient.
-
-
Placeholder
-
A signer whose details will be provided by the Initial Link Signer
-
Useful when you don’t know all participants in advance
-
Example:
If you don’t know a signer’s manager, add a Placeholder so the Initial Link Signer can enter that information later.
Learn more:
4. Configure Document Settings
Click the Settings button (top menu) to configure options such as:
-
Notifications for the Sender and Recipients
-
Reminders
-
Deadlines
-
Signing order
See: Set up Notification Reminders for Recipients
5. Add Tags to the Document
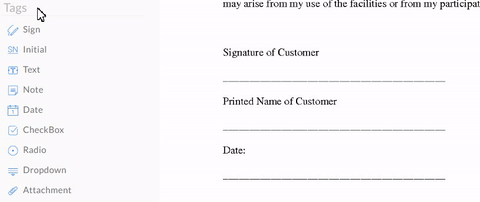
Drag and drop fields (tags) onto your document and assign them to the correct signer.
Examples of tags include:
-
Signature fields
-
Text inputs
-
Date fields
Learn more:
6. Save and Publish
Once your linksign template is complete you can either:
-
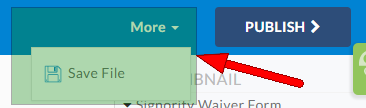
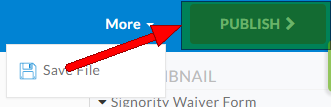
Save by selecting More → Save File, or;
Publish and Share Your Link
Once your template link is ready to be puclished, there are two ways to do so:
-
From the Editor: Open the template in the Editor and selecting Publish.
-
From the Link Sign Templates page
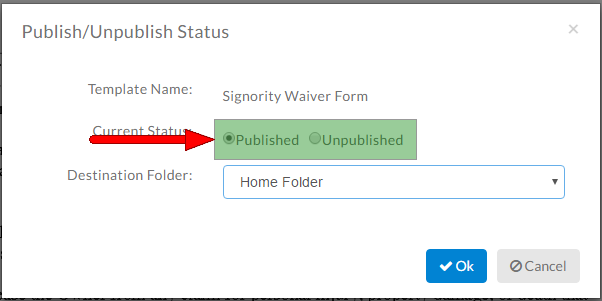
After clicking Publish, you’ll see a popup:
-
Set Current Status to Published
-
(Optional) You can also use the dropdown to chose the destination folder that you wish for documents created through the linksign template to be automatically sorted into.
-
Click OK
-
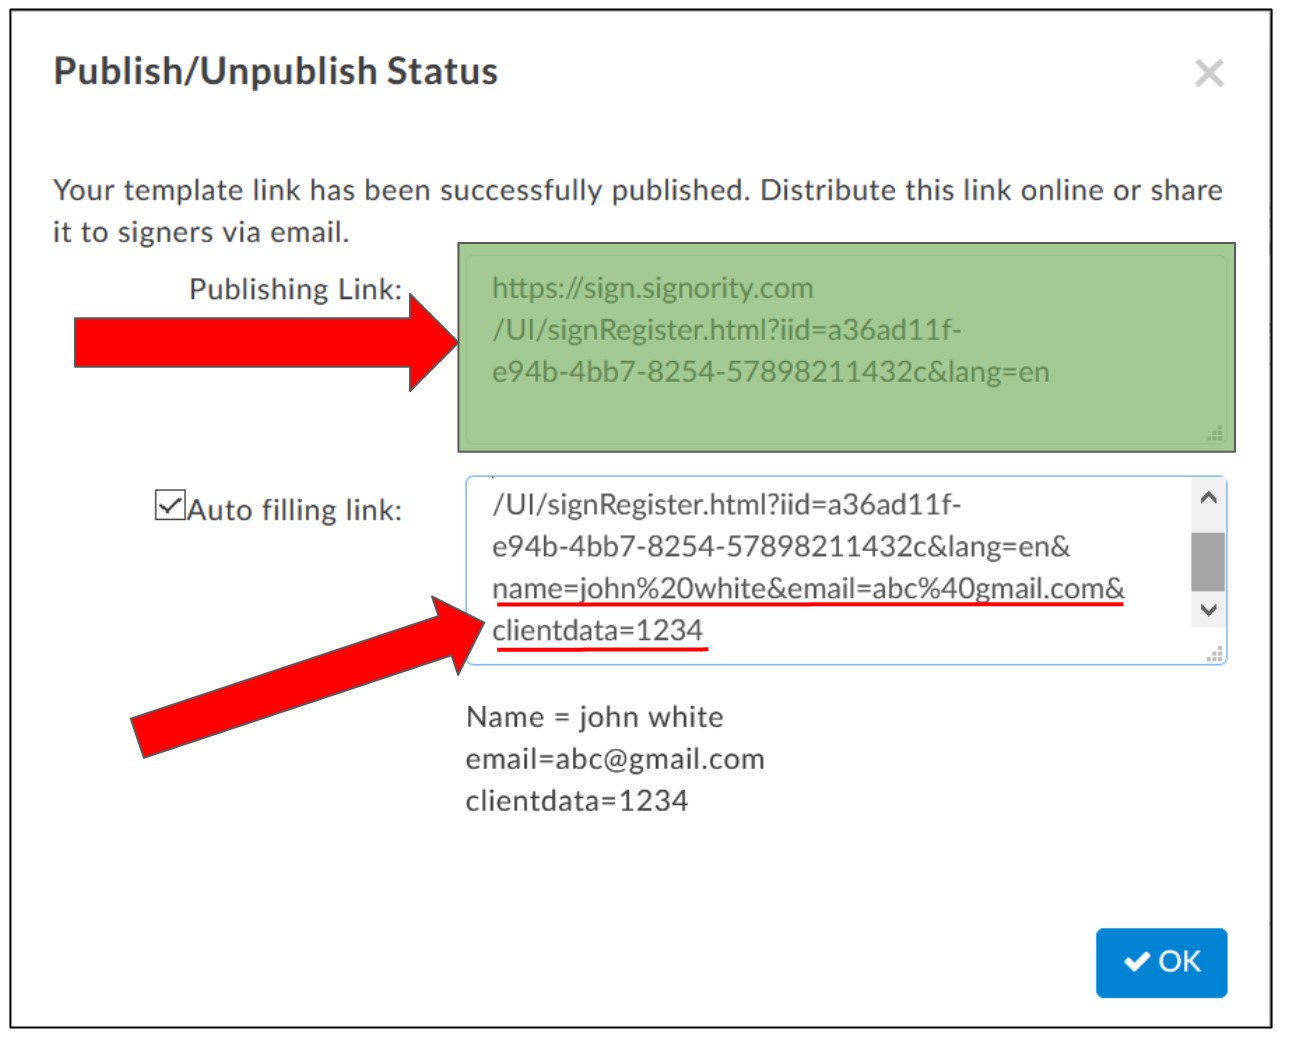
Copy your Publishing Link URL
Optional: Use an Auto-Filling Link
If you’re sending the link to a specific person, you can set up the link sign with an Auto-filling Link. This pre-populates signer details automatically, reducing manual entry from recipients and improves user experience.
You can now:
-
Share it via email
-
Add it to your website
Further Reading